
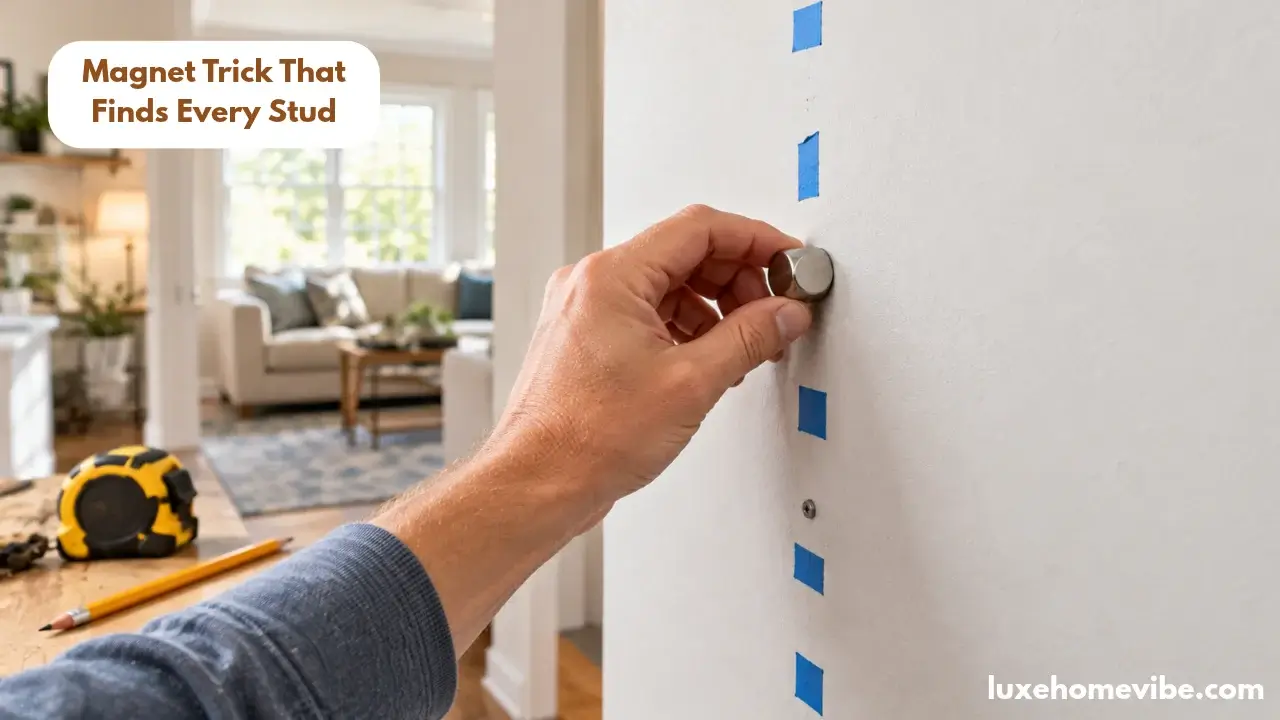
Yes a strong magnet really can find your studs. It does not sense the wood itself; it finds the steel screws or nails that fix the drywall to the stud, and those fasteners trace the stud’s path up the wall. For frames, mirrors, and most everyday hanging, that is genuinely enough.
This post contains affiliate links. As an Amazon Associate, LuxeHomeVibe earns from qualifying purchases at no extra cost to you.
Quick picks
- Best all-round magnet: C.H. Hanson 03040, the small, strong, no-nonsense classic.
- Best for beginners: The StudBuddy clings to the wall where it finds a fastener, so the mark stays put.
- Best for picture hanging: StudPoP “On the Level” adds a levelling reference for gallery-wall afternoons.

Why the Magnet Trick That Finds Every Stud works (and where it stops working)
Drywall is fixed to timber studs with steel screws, usually in vertical lines along each stud. A rare-earth magnet dragged slowly across the paint feels a distinct tug as it passes each screw head; sometimes it will even park itself on the wall. Two or three tugs in a vertical line and you have found a stud’s path, no batteries, no calibration dance, no mysterious beeping.
It helps to know the limits before you start. The magnet finds fasteners, not the centre of the stud the screw tells you the stud is behind it, but not whether you are over its middle or its edge. It also cannot warn you about live wires or pipes, and on old lath-and-plaster walls the fasteners may be lath nails with weaker, messier patterns.
For heavy or high-value loads, treat the magnet as your scout, then confirm the centre properly. Our guide to the best stud finders for home projects covers the electronic options for exactly those jobs.
What you need
- One magnetic stud finder (the three picks below), or a strong rare-earth magnet
- Painter’s tape and a pencil tape on the wall, marks on the tape, zero wall damage
- A tape measure, for checking the roughly 16-inch spacing between studs
- A slim nail and a picture hook for the centre-confirmation trick described below
Ready to shop the simple route? Check current price on Amazon for the current magnetic finder line-up.
The Magnet Trick to Find Studs, step by step
1. Start where a stud should be. Corners are solid, and studs typically run every 16 inches (sometimes 24) from there. Pick your approximate hanging spot and work a hand’s width either side of it.
2. Glide slowly, low first. Hold the magnet flat against the wall around skirting height and slide it horizontally in a slow S-pattern, rising as you go. Rushed passes skip screws entirely; the tug you are feeling for is subtle at first.
3. When it tugs, stop and let it settle. A found screw gives a clear pull, and stronger magnets will cling in place. Stick a small piece of painter’s tape there and mark the spot on the tape.
4. Hunt vertically for the second screw. Move straight up and down from your mark. A second tug 8–16 inches above or below confirms you are on a stud line, not a random metal fluke. Mark it.
5. String the line. Two confirmed fasteners define the stud’s path. A light pencil line on tape between them is your working map; hang points, shelf brackets, and mirror fixings all get planned against it.
6. Confirm the centre before anything heavy. Fasteners sit wherever the installer drove them, which may not be the stud’s middle. For a heavy mirror or shelf, tap a slim nail at a shallow angle in an inconspicuous spot (behind where the object will hang) to feel both edges, then drill the centre. This two-minute check is the difference between a fixing that holds for a decade and one that tears out.
7. Sanity-check with spacing. Measure to the next stud; if your marks suggest something wildly off 16 or 24 inches, re-scan. Metal corner bead, pipes and duct straps can all give false tugs vertical repetition is your truth test.

The 3 magnets worth buying
C.H. Hanson 03040 the classic
The 03040 is the name that comes up whenever magnetic finders are compared, and it earns it the unglamorous way: strong pull, tiny body, nothing to break. It is the magnet that lives in a drawer for years and simply works every time you reach for it. If you want one magnetic finder and no opinions about it ever again, this is the one. See it on Amazon.
The StudBuddy: the beginner-friendly one
The StudBuddy is designed to stick to the wall at the fastener it finds, which turns it into its own marker: find the screw, let go, and the tool holds your place while you reach for the tape. That small kindness makes it the easiest first magnetic finder, especially when you are working alone at step-stool height.
StudPoP “On the Level” the gallery-wall one
StudPoP adds a levelling reference to the magnetic format, aimed squarely at picture hanging: find the fastener, check your straight line, mark, repeat. For a gallery wall with a dozen frames, removing one tool from the juggling act genuinely speeds things up. Check current price on Amazon to compare the three before you commit.
A note on prices: magnetic finders are inexpensive tools, but exact prices drift, so treat any figure you see in roundups as a guide and confirm at checkout. All three of these picks follow the same physics the choice is about grip, marking style and whether the levelling extra helps your project.
Magnet vs electronic: which jobs belong to which
The magnet is the right tool for framed prints, most mirrors of modest weight, lightweight shelves on hooks, and seasonal decorating you will move next year. It is fast, silent and honest about what it is.
Step up to an electronic finder when the load is heavy, expensive or safety-critical — a television, a loaded floating shelf, a very large mirror. Those jobs need the stud’s centre and a live-wire warning, which no magnet can give you.
The full head-to-head, including which family suits plaster walls, is in digital vs magnetic stud finders, and the TV-specific walkthrough lives in how to find studs for a TV mount.
Between studs, the honest alternatives are rated hollow-wall anchors and toggle bolts for medium loads, and a French cleat when you want weight spread across a wider fixing. What never works is hoping a plain drywall screw in plasterboard will hold something you care about.

Troubleshooting: when the magnet finds nothing
- Very thick or doubled drywall weakens the pull; move slower and press the magnet flat.
- Plaster and lath may use nails in less regular patterns — widen your search area and expect a messier map.
- Fresh paint and textured finishes add distance; a stronger rare-earth magnet is the fix, not more speed.
- Still nothing? Switch tactics: an electronic finder from our pillar guide to the best stud finders scans for the stud itself rather than its fasteners.
FAQs
Can a magnet really find a stud through drywall?
Yes indirectly. The magnet locates the steel screws or nails fixing the drywall to the stud, and two fasteners in a vertical line reveal the stud’s path. It cannot show you the stud’s centre or width.
Is a magnetic stud finder accurate enough for a heavy mirror?
It is accurate enough to find the stud, but heavy pieces also need the centre confirmed. Use the nail-tap edge check in step 6, or an electronic finder, before drilling for anything heavy or valuable.
Why does my magnet tug in random places?
Metal corner bead near corners, duct straps, pipes and even screws from the other side of the wall can all attract it. Trust only fasteners that repeat vertically in a plausible stud line.
Magnet or electronic finder for a rental?
The magnet, usually it leaves no marks, needs no batteries and handles frame hanging perfectly. Renters mounting a TV should still use an electronic finder and accept the two small, fillable holes.
What if my home has metal studs?
Magnets behave oddly around steel framing and can tug everywhere. An electronic finder with a metal-scan approach and careful centre confirmation is the better route; see the comparison linked above.
Conclusion
The magnet trick is the rare home hack that is exactly as good as promised for the jobs it suits. Buy one good magnet, learn the vertical-line test, and your frames and mirrors will land on timber instead of hope. When the project gets heavy, pair it with a proper electronic finder: check the current price on Amazon for the magnets, and let the pillar guide handle the rest.